Commvault: CommServe Installation – Part 1
Commvault is a company that provides Backup & Recovery solutions for virtual machines, containers, databases, and applications. I am going to cover complete Commvault installation in three parts where i will explain each components one by one. Let’s learn how to install CommServe (CS) which provides control and monitoring of a Commvault Backup and Recovery deployment. It is “single pane of glass” that does all operations.
Commvault Architecture consists of three major components, i.e. CommServe, Media Agents, and Client Agents.

CommServe Setup
Download the latest Simpana software using the Download Manager application. The Download Manager bundles an installation package from the Simpana components.
- Log on to the computer as an Administrator
2. Disable Anti-virus software. Run setupall.exe from
3. Run SetupAll.exe from the installation package that was created using the Download Manager.
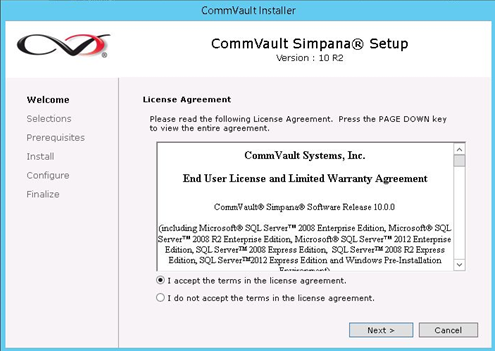
4. Click I accept the terms in the license agreement, and click Next
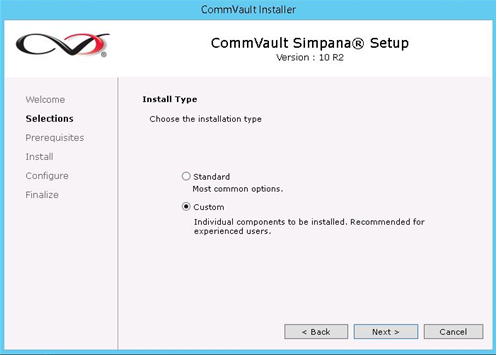
5. Click on Custom and click Next
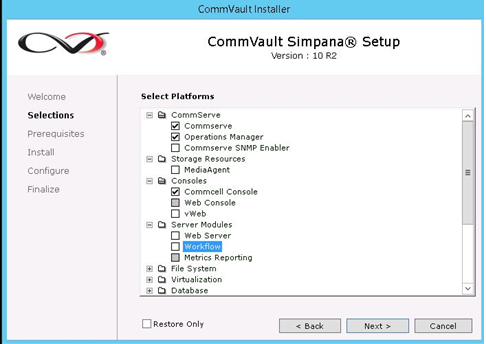
6. Click select components to install on this computer. click Next
7. Expand CommServe, and click CommServe & Operations Manager. Expand Consoles, and click CommCell Console
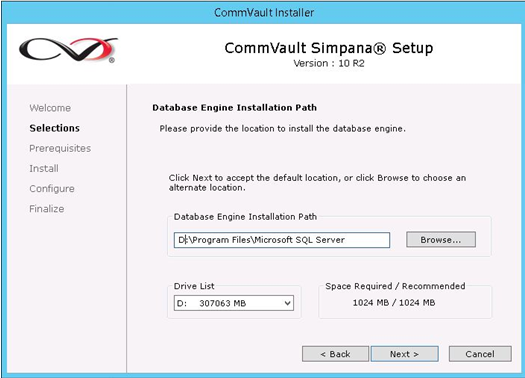
8. Verify the installation path of the CommServe database engine. This will be the location for the SQL Server System databases. This step might take several minutes to complete
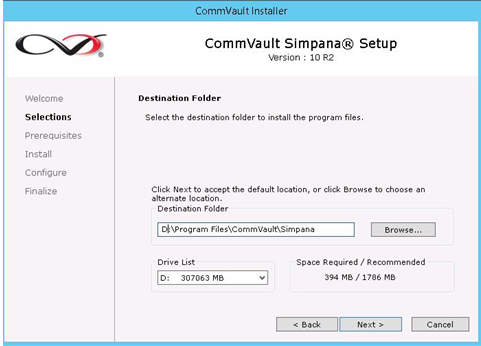
9. Verify the default location for software installation, and click Next.
10. Click install. The computer may prompt for a reboot after installing the .Net Framework. In such a case, click Reboot Now to reboot the computer. After the reboot, run SetupAll.exe from the installation package to resume the installation

Note: If the SQL Server is already installed on the computer, the installer skips the SQL Server installation. By default, the SQL Server is installed as part of the CommServe installation, the Simpana software automatically sets the system administrator (sa) password. If the ‘sa’ password of the preinstalled SQL Server does not match with the default password set by Simpana, the installer will prompt you for the password.
11. The CommServe Client Name and CommServe Host Name are filled automatically. Click Next
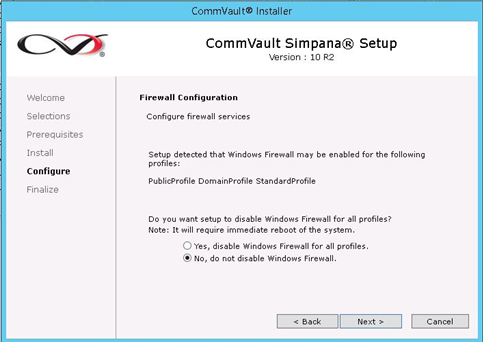
12. Select option to enable or disable firewall. In this case, I have selected option to keep it enabled
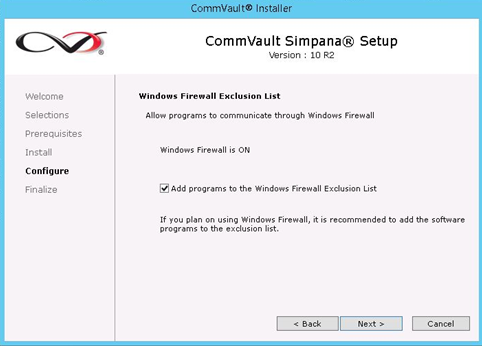
13. If you go with enable firewall option, select Add programs to the Windows Firewall Exclusion List, to add CommCell programs and services to the Windows Firewall Exclusion List.
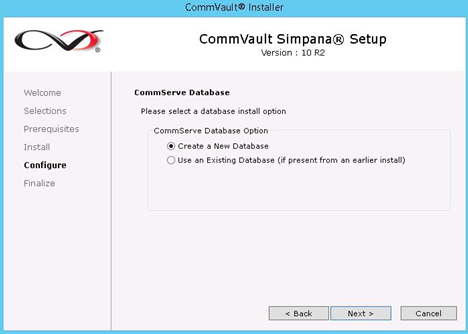
14. Verify the path to the SQL Server database files. Click Next. On next screen, Create a New Database, and, click Next
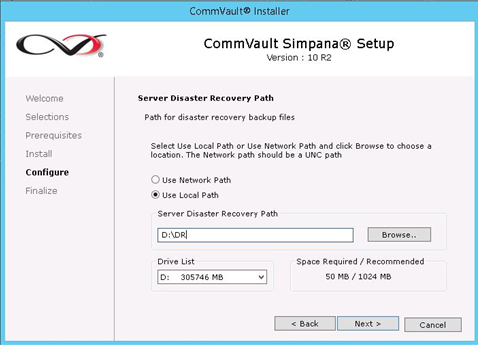
15. Specify the network or local path where you want to store the Disaster Recovery backup files. Click Next
16. Enter the username and password for the CommCell Console administrator account and Click Next

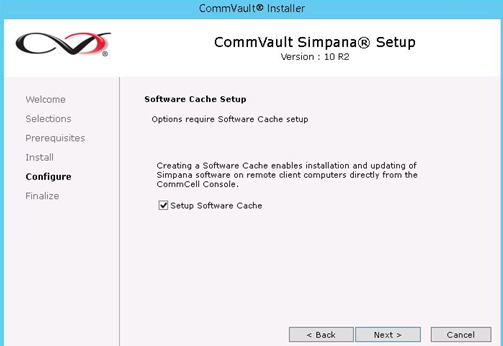
17. If you do not want to allow the CommServe to install software and updates to remote client computers, click to clear the Setup Software Cache check box and click Next
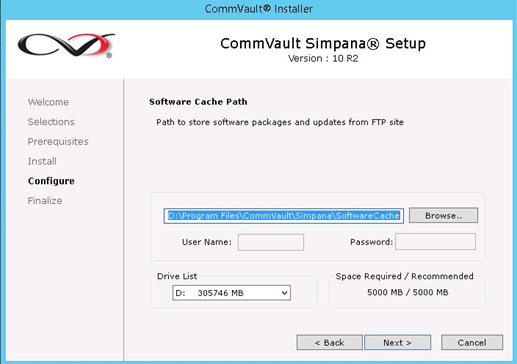
18. Skip this step if you did not select the Setup Software Cache option.
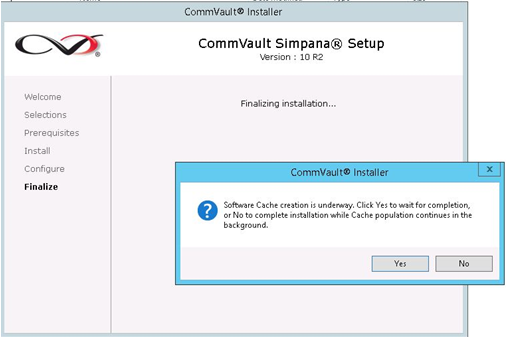
19. Click Yes to wait for the installer to copy the software packages required for the CommServe. If you want to finish the installation, click No. The software packages will be copied in the background process.
20. Setup is complete. Click FInish
Next part of this series to understand Media Agent installation. Blog link is https://multicloudsagar.com/commvault-media-agent-installation/