Simple steps to generate OAuth Token in GCP for REST API
Today we will see how to generate an OAuth token to make an API call. I found two ways to generate an OAuth token. Based on this token you can make an API call. Through this call you can do CRUD (Create – Read – Update – Delete) operation so it is a powerful and more secure method. Let See Methods
Method 1
In this method, we will create a service account, generate a key, and give permission to it under IAM. We will create a script to generate an OAuth token.
High-level Steps:
- Create a service account and provide the required permission
- generate and save key- JSON file
- Upload the key- JSON file in the CloudShell
- Create python script through CloudShell editor
- Execute the script to generate the OAuth token
- Do operation with token
Deployment of method 1
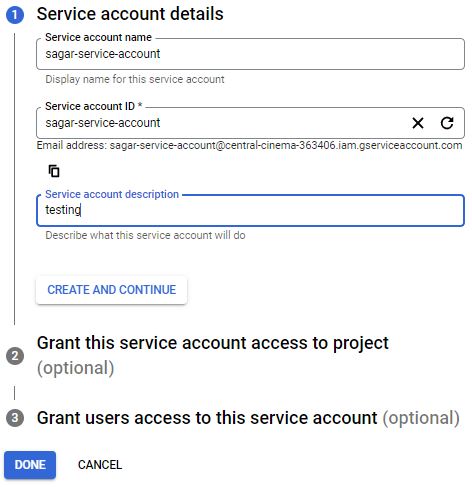
Login into the GCP console. You need owner permission to create service account and give permission. Go to IAM -> service accounts. Create a service account. Provide a name to a service account. Service account IDs get generated based on account name.
You will see the email address created for this service account. You need to use this email address while giving permission in any project, folder, or organization level. You can put descriptions to relate to this role. Next both steps are optional. if you know the role of this service account, it is better to provide it. I am giving the viewer permission as I need to discover resources in the project. After that grant access to users or groups that need to perform actions as this service account. You can define Service account user and admin role. Click on done to complete the account creation process.
Once Account is ready, go to keys. You can add a new key or upload an existing key. I do not have an existing key so I will go with the new key generation. When clicking on key generation, you will see two options, select JSON as it is most recommended. Downloads a file that contains the private key. Store the file securely because this key can’t be recovered if lost.
Open Cloud Shell from the console, Click on the open editor. go to the file and upload the JSON file key. Create a new file with #vi sagartoken.py command or you can open the cloud shell file editor and create the file. Copy the below content in the script as it is. Only change the name of the JSON file name.
| from google.auth.transport import requests from google.oauth2 import service_account CREDENTIAL_SCOPES = [“https://www.googleapis.com/auth/cloud-platform”] CREDENTIALS_KEY_PATH = ‘<Json file name>‘ def get_service_account_token(): credentials = service_account.Credentials.from_service_account_file( CREDENTIALS_KEY_PATH, scopes=CREDENTIAL_SCOPES) credentials.refresh(requests.Request()) return credentials.token print(get_service_account_token()) |

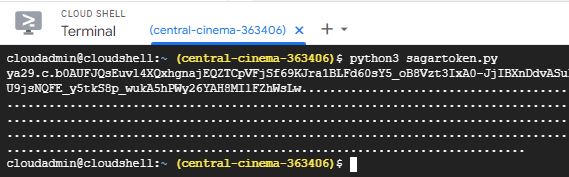
Execute python script to generate OAuth token.
Let’s see how to make an API call with the Above token. We are going to list project details. Open the Postman tool. You will Endpoint URL from GCP REST API documentation.
- Endpoint URL – https://cloudresourcemanager.googleapis.com/v1/projects
- Request type – GET
- Authentication- Bearer token
Note: Initially you may get an error due to Resource manager API is disabled. You have to enable it manually.

Method 2
2nd method is more specific to the postman tool. I am going to use this tool for making API call by creating OAuth Client.
Login into the GCP console. You need owner permission to OAuth Client id and give permission. Go to APIs and Services. Click on Credentials. Initially, you need to configure consent on your app. Choose how you want to configure and register your app, including your target users. You can only associate one app with your project. There are two types, internal and external.
In the Internal type, your app is limited to Google Workspace users within your organization. You can communicate with your internal users directly about how you’ll use their data
In external type, your app will only be available to users you add to the list of test users. Once your app is ready to publish, you may need to verify your app.
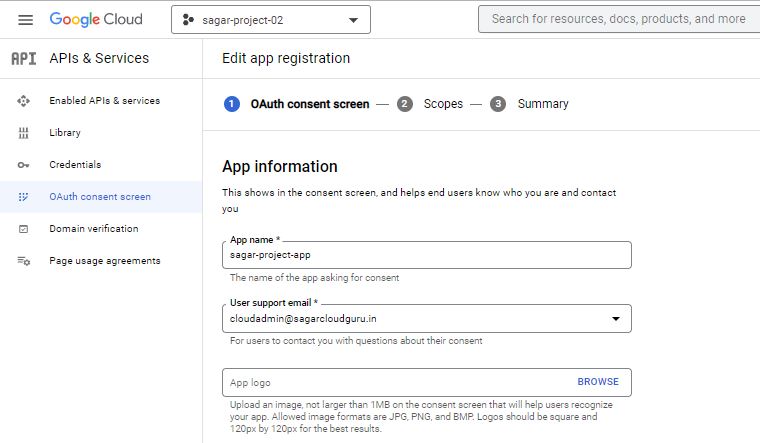
I am going with an internal app. Under the OAuth consent screen, provide info that helps end users know who you are and contact you. Add Scopes if require for your app. Scopes express the permissions you request users to authorize for your app and allow your project to access specific types of private user data from their Google Account. Check summary and go back to your credential section. Click on Create. While creating it, choose OAuth Client ID. A client ID is used to identify a single app to Google’s OAuth servers. If your app runs on multiple platforms, each will need its own client ID.
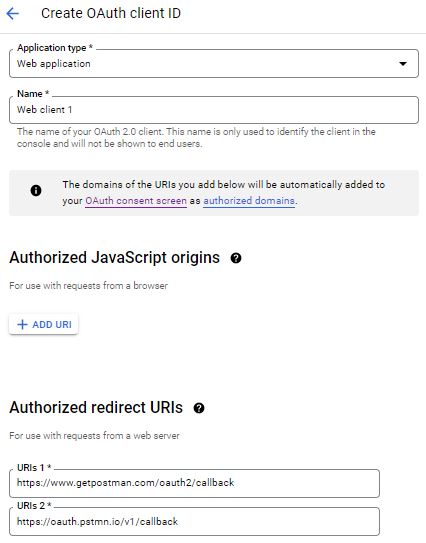
Select the web application, provide the name, and give URL – https://www.getpostman.com/oauth2/callback and https://oauth.pstmn.io/v1/callback under the redirect URLs section and complete setup. It will provide the Client id and Client Secret at the end. You can copy or download it.
Note: OAuth access is restricted to users within your organization unless the OAuth consent screen is published and verified.
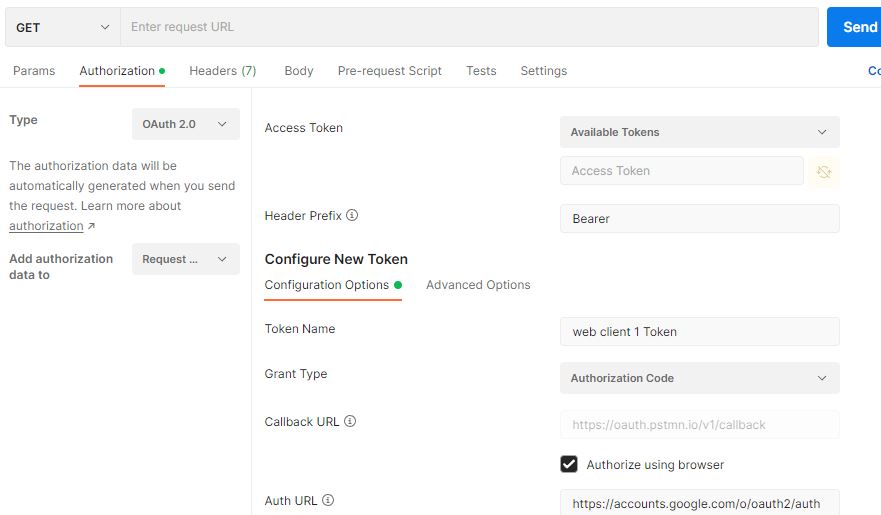
Open the postman tool, Go to authorization, provide the below info.
| Parameter | Value |
| Type | OAuth2.0 |
| Header Prefix | Bearer |
| Token name | <<Custom name>> |
| Grant Type | Authorization Code |
| Callback URL | https://oauth.pstmn.io/v1/callback |
| Auth URL | https://accounts.google.com/o/oauth2/auth |
| Access Token URL | https://accounts.google.com/o/oauth2/token |
| Client ID | <<Copy-Paste from JSON file of OAuth Token>> |
| Client Secret | <<Copy-Paste from JSON file of OAuth Token>> |
| Scope | https://www.googleapis.com/auth/cloud-platform |
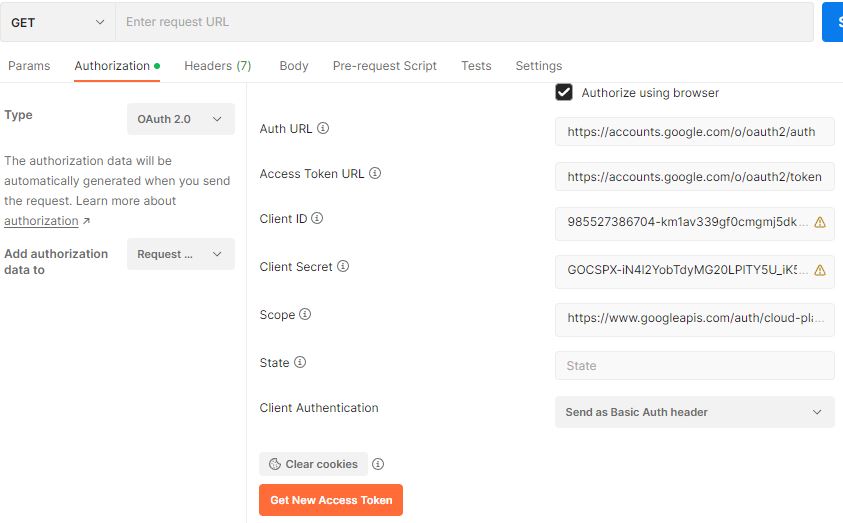
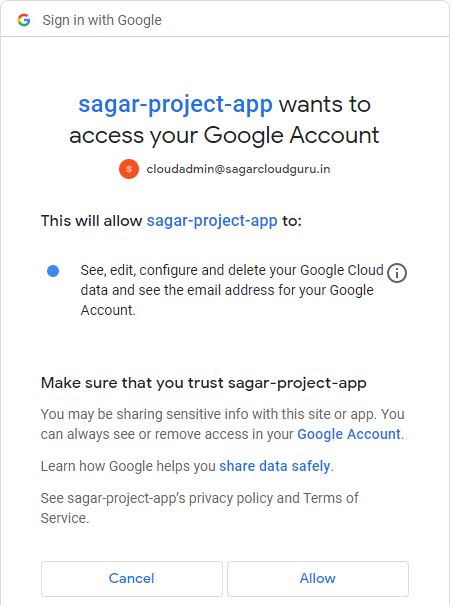
When you click on “Get New Access Token” you will be asked to authorize Postman to interface with Google’s APIs. So it will pop up a popup window and you will be asked to log into your Google account. Internal app created under Consent will ask permission to access Google account. This process will verify an OAuth ID and Google will check that the request came from an authorized redirect URL (which we have set). You will receive a message “Your call is authenticated”. A new window should open directing you back to the Postman app.
Note: It is a browser-based call, so make sure the pop-up blocker is not enabled otherwise the request will fail.

You can copy the token and make an API call as shown in method 1.
I hope this article has given you confidence that anyone can make an API calls in GCP without any prior DevOps knowledge.
Thanks for reading and keep learning with me.